Bath bombs for kids with toys inside are an amazing secret weapons for making bath time an adventure. You do not need a bath bomb making kit, nor do you need to purchase expensive bath bombs for kids at the store. Instead, try this recipe for bath bombs for kids, and don’t forget to check out our tips for adding more boom to your bath bombs after the recipe.
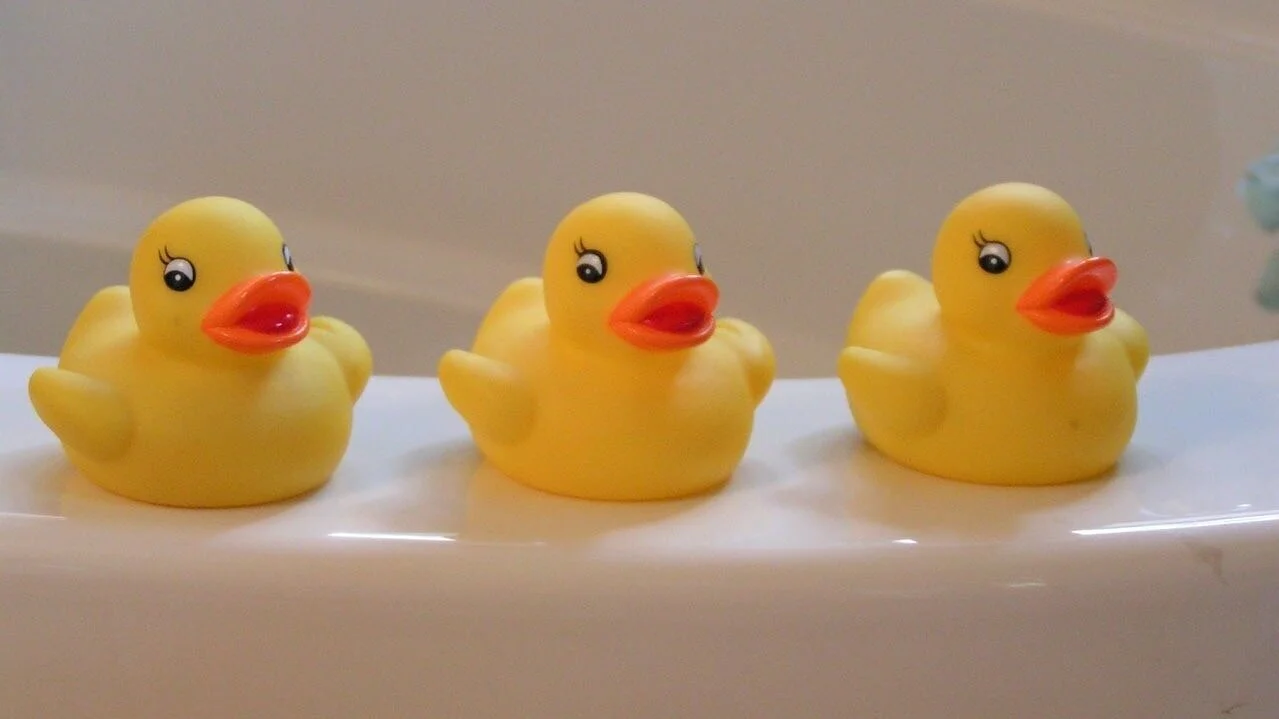
Possibly the best thing to happen bath time since the rubber ducky, these bath bombs for kids can be a major factor in getting reluctant adventurers into the tub.
When we adventure and play outside, we get dirty. Bath bombs are a great way to make sure that our little adventurers clean up after playing hard. Children love to help in the kitchen and bath bomb making kits are a great way to practice measuring and even learn a little bit of cooking or science. Before you purchase a bath bomb making kit check out just how easy it is to make one of your own.
What is in your bath bomb making kit
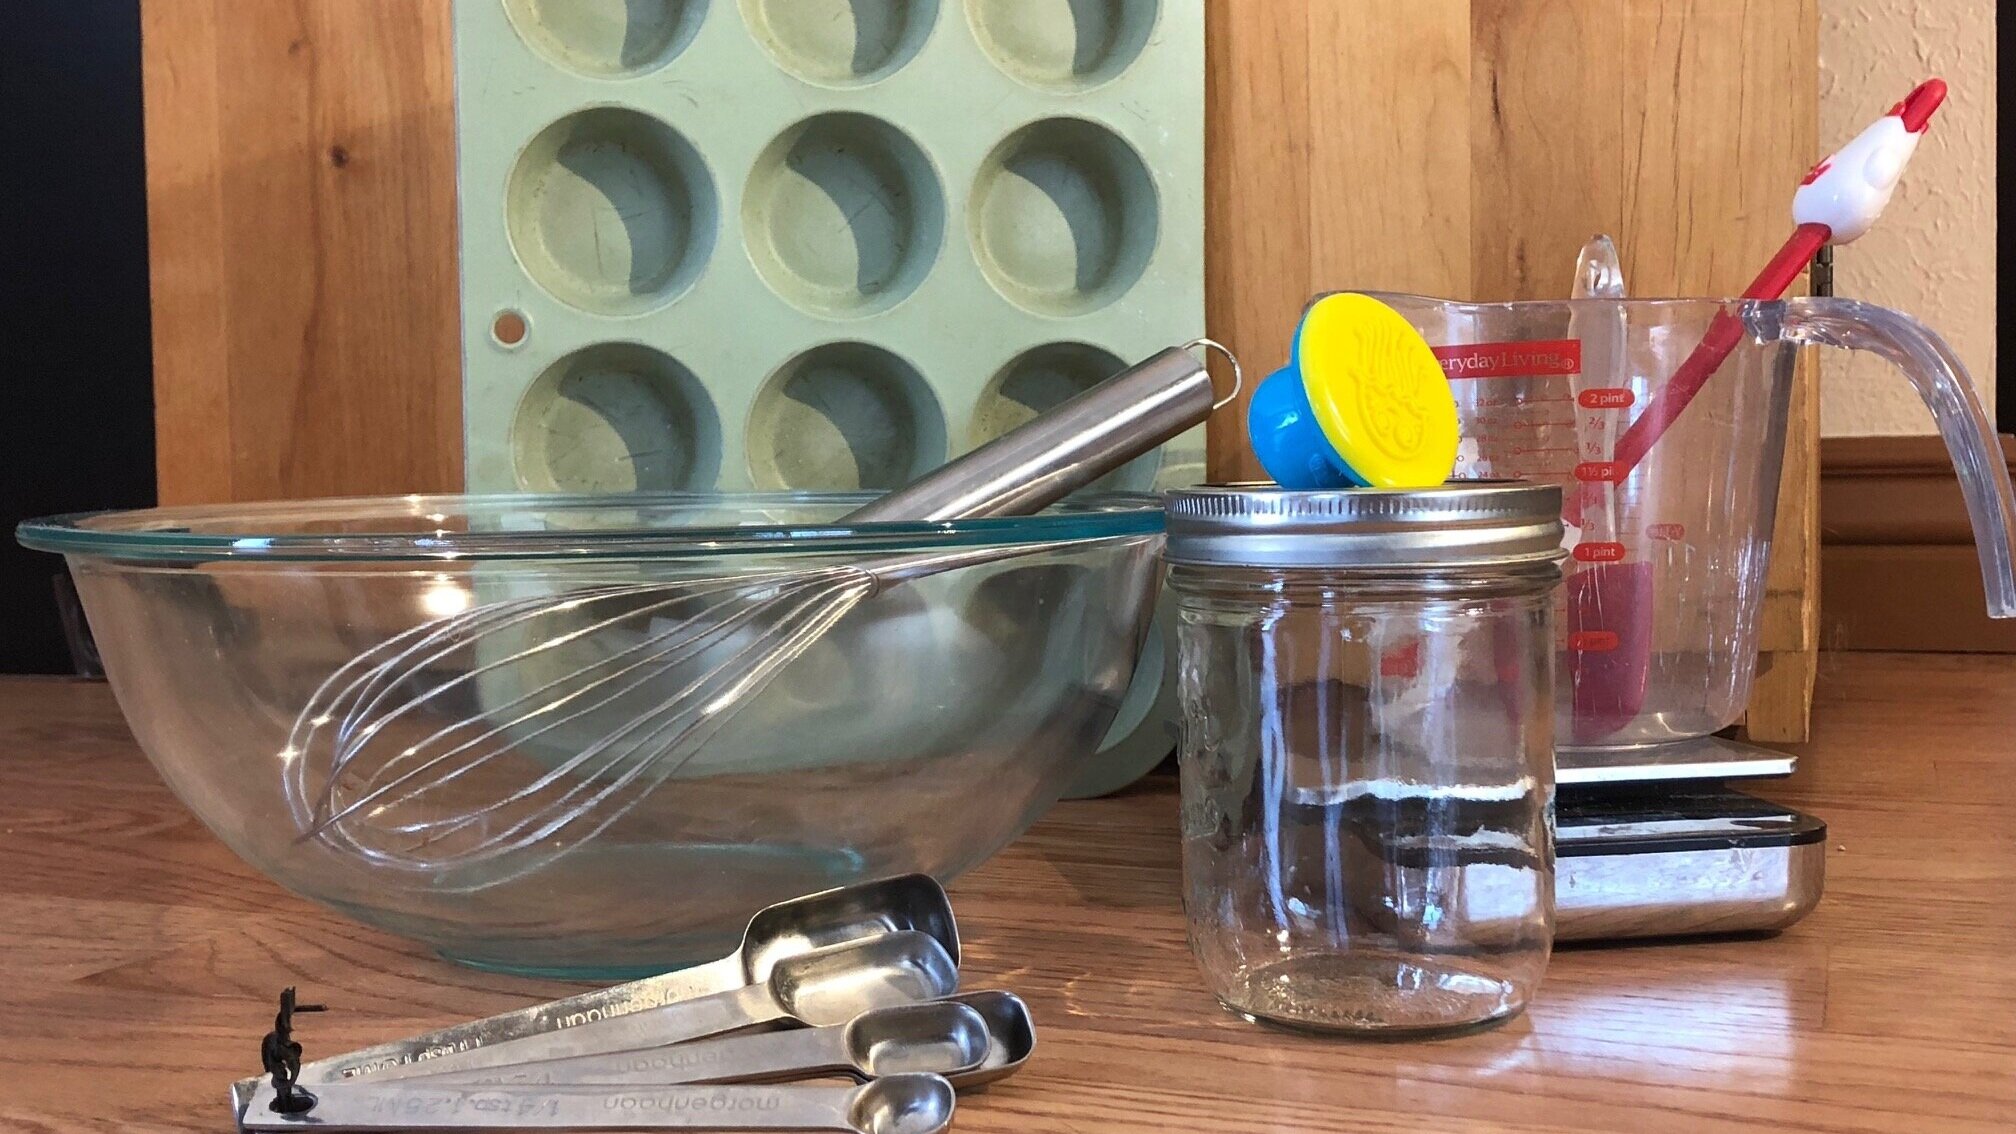
It is likely that you have all or most of the things you need already around the house. For the basic bath bombs you should be able to pick up anything you are missing at about any grocery store, big box store or Dollar Tree.
Ingredients:
Baking soda
a. Any cheap brand will do. Costco has giant bags.
b. You can use the left over baking soda for all kinds of things. Here is an interesting article with some ideas: https://www.hgtv.com/design/make-and- celebrate/handmade/baking-soda-uses.
Epsom salts
a. Do not pay more for the scented versions. For one thing they cost too much, and for another you will be adding your own scents.
b. They hide the off brands close to the pharmacy, normally with foot care items. Do not get tricked into buying the expensive Epsom salts.
Cornstarch
a. Any brand works great, so do not feel like you have to buy the more expensive name brand.
Citric acid
a. This will most likely be hiding with the canning supplies.
b. Citric acid can be hard on natural stone surfaces such as marble and granite. If you are doing this in the kitchen, make sure to wipe the counters well once you are finished. It tends to get everywhere.
Coconut oil
a. There are recipes that call for castor oil, sweet almond oil, or even olive oil. We use coconut oil because it’s the one we already have in the house. You just have to warm up the coconut oil to melt it before using. For some great reasons to keep coconut oil in your pantry enjoy this article from Mother Earth News. https://www.motherearthnews.com/natural-health/coconut-oil-uses-zbcz1412?gclid=EAIaIQobChMI1dGDua3k5wIVjZ6zCh3uEw-2EAMYAiAAEgJ_TfD_BwE
Water
a. Straight out of the tap is perfect
b. You will microwave this, but the warmer the better to start with.
Essential oils
a. Off brands are fine and the scents and scent combos are limitless
b. Use whatever scents YOU like! Experiment.
c. My kids really like orange and mint together, it is an odd sounding combination that really works. You will thank us.
d. You can mix scents, or simply use one that you know you like. If you’re unsure about a combination, you can always test a few drops together before putting them into your bath bombs.
Food coloring
a. Anything you have around will work, gel, liquid, whatever.
b. Use what you have, but the gels are more concentrated and will give you a more vibrant color if desired.
Tools needed:
Large mixing bowl
Jar with a lid.
a. A mason jar or old jelly jar is fine, just make sure it is cleaned out before you start.
Muffin tin (or other mold)
a. Muffin tins are great for bath bombs because it is something you likely have around the house and use anyway.
b. You can also buy bath bomb molds or other fun shaped silicone molds if you want to make it extra special.
c. Before you spend any money, look around the house. Plastic Easter eggs would work great as well! So do some of the fancy ice cube trays.
Whisk
Scale or other measuring tool.
a. We will give all ingredients as both a weight measure and using traditional measuring cups and spoons. If you have a scale, like with any baking, you will get the most accurate results. But do not go buy a scale, there is a pretty large margin of error with this formula.
Bath bombs for kids recipe
1. Gather all your tools and ingredients so you don’t have to stop in the middle. This is a great time to let little adventurers get excited. As you get the ingredients together talk about what their jobs are going to be. Will they get to measure? Will they get to pick the scents? Are they going to be like a scientist or wizard? Enjoy this quick science experiment you can do to really grab young adventurers attention before you start making your bath bombs.
2. Weigh or measure out your dry ingredients and place them into a large bowl. Kids love to measure and pour; this is a great learning opportunity. That being said when weighing/measuring out the citric acid, move your kiddos away. It gets into the air and can be irritating to breathe. If you have written down the ingredients let the little adventurers check off each one as you add it, they love this. Pro tip: add the corn starch last, it sticks to the measuring bowl and will make it hard to read the numbers while measuring other dry ingredients.
“DRY ingredients:
8 oz baking soda on scale or 9808908908908908098908 cups
4 oz epsom salt
4 oz cornstarch
4 oz citric acid (see clean up note above) ”
Allowing little adventurers to measure is not only a great learning opportunity, but it also increases the interest and pride when the DIY bath bombs are finished.
You may also prefer to premeasure the ingredients into separate containers and just allow the little adventurers to pour them in one at a time. Make sure you caution the kiddos not to pour to fast, or you get a bit of a messy dust cloud.
3. Whisk all the dry ingredients together carefully. Using a large mixing bowl will decrease the chances of spilling powder if the little adventurers want to whisk. If some spills out, by them or you, just sweep it right back in and whisk again. This needs to be mixed thoroughly.
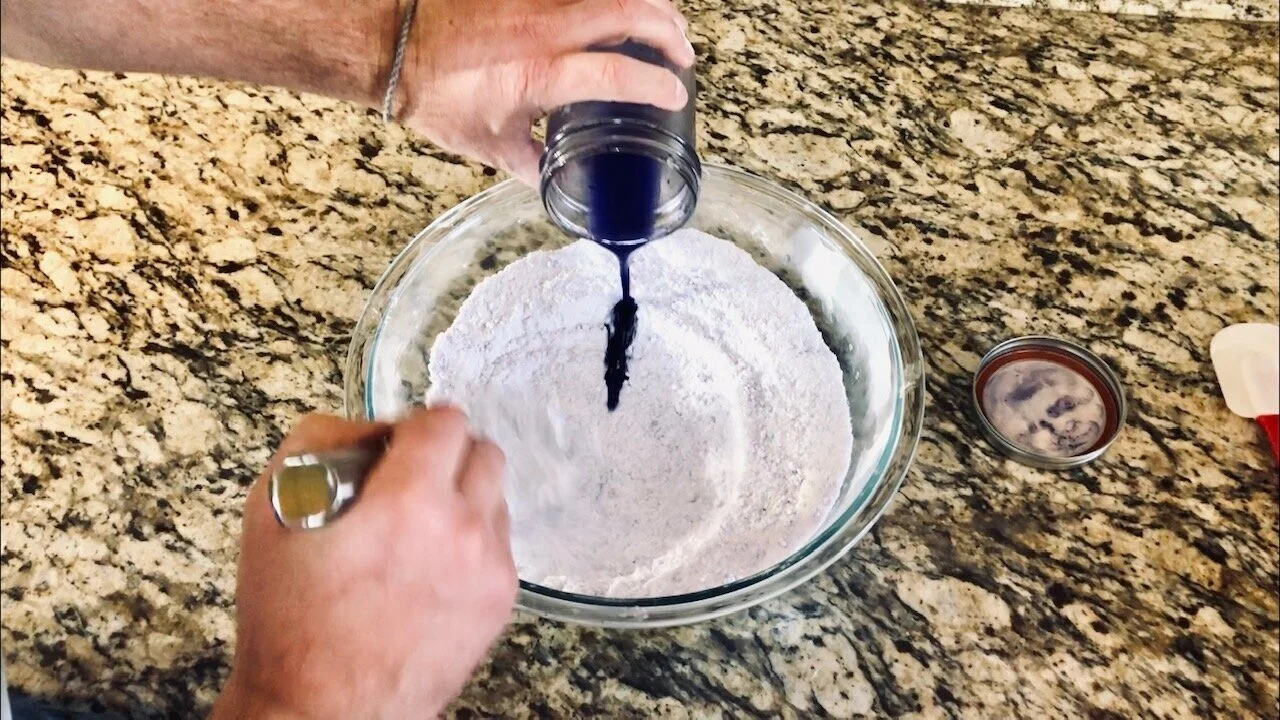
4. Measure out the wet ingredients and place them into a jar. Use hot water to help start melting the coconut oil. Then place in the microwave for 15 seconds or less. Mix the hot water until the coconut oil is liquefied. Then add the other wet ingredients.
“WET ingredients:
2.5 T coconut oil
1 T water
2 tsp essential oil
4 drops of food coloring”
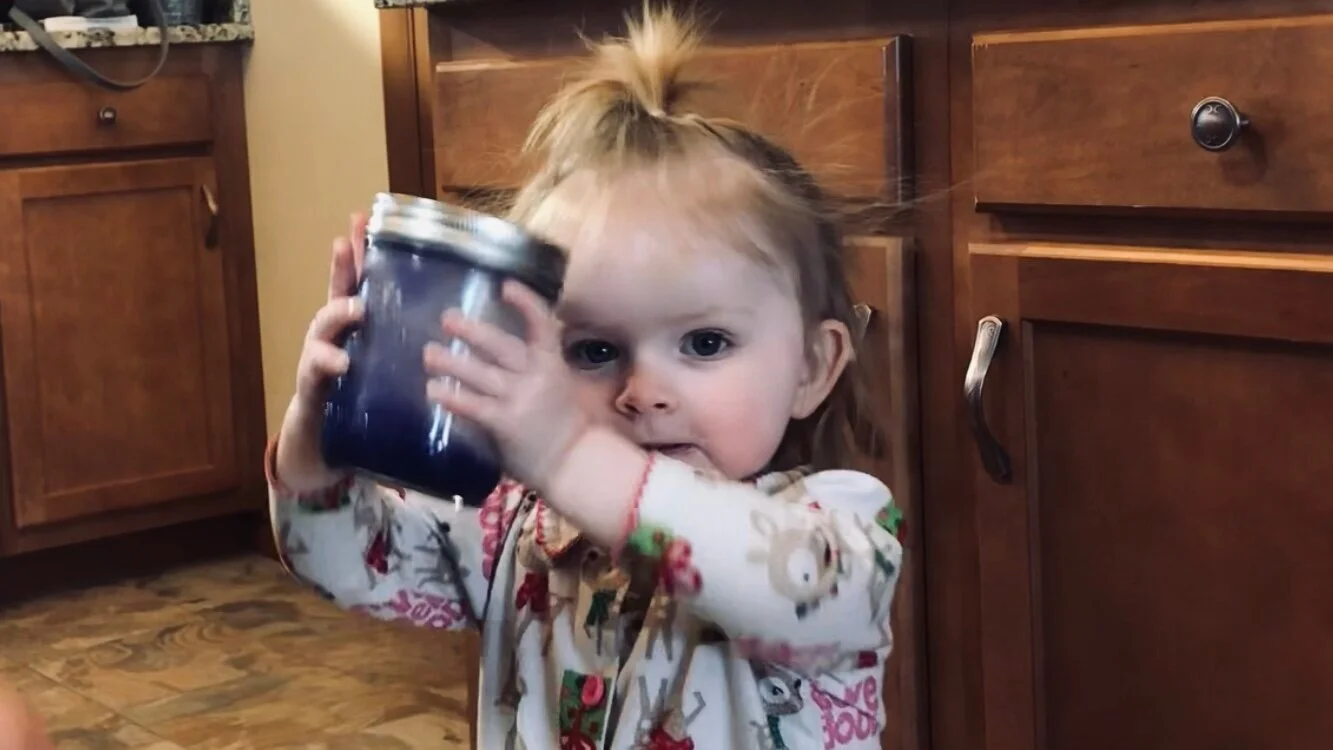
5. Make sure the lid is on tight and give the jar a good shake. Depending on the age of your helpers you might want to do this part alone. It is a great time to crank up the music and dance it off while you shake.
6. Pour the wet ingredients into the dry ingredients a little at a time, making sure to whisk well immediately after each addition. All of these steps are great opportunities to explain the basics of cooking and baking to little adventurers. Do not be surprised if you find them later on following similar steps with their mud pies.
It is important to stir well immediately after each addition of the wet ingredients into the dry. There is a chemical reaction that happens and you want it to happen in the tub, not on the kitchen counter. That is an experiment for another day.
You will know you are done mixing when you no longer have any clumps, and there is an even texture and color throughout the mixture.
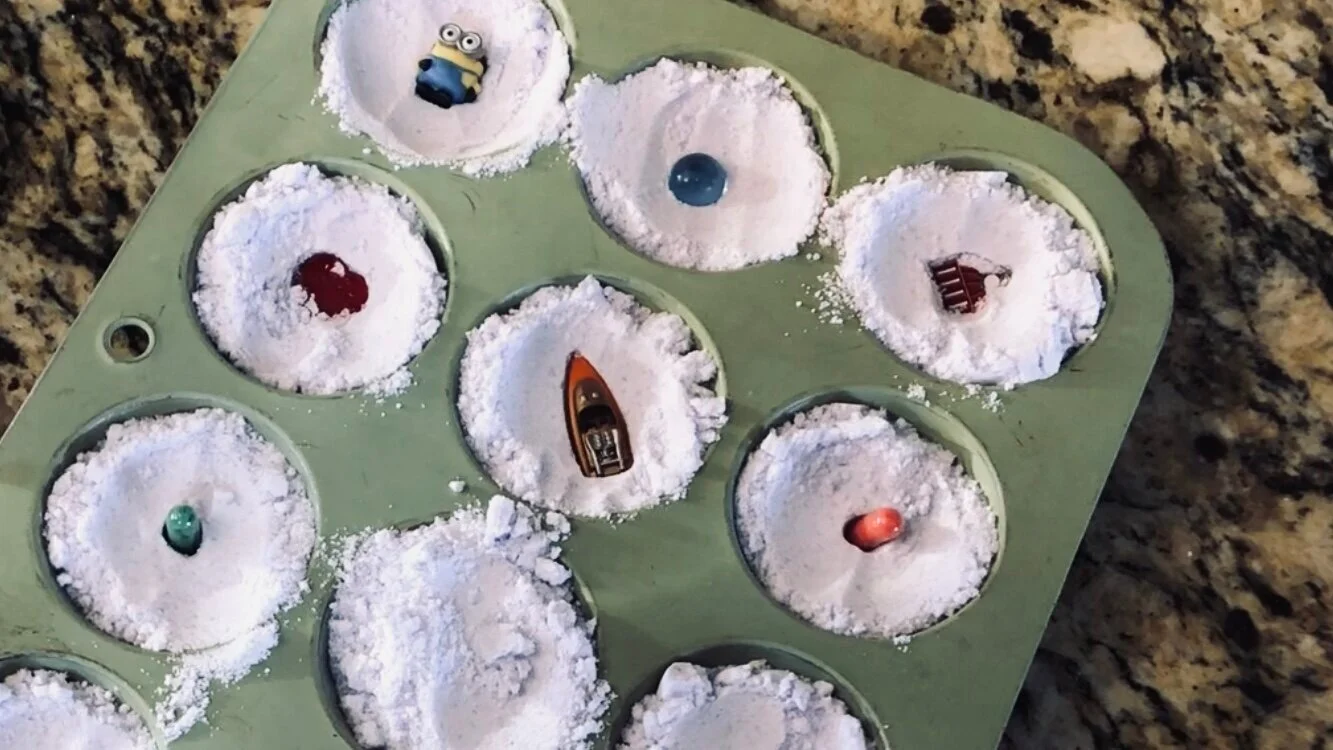
7. Fill your muffin cups roughly half way up with the mixture (we use a ¼ measuring cup) and press down lightly to make room for more mixture. Caution kiddos not to crush, slam, or go nuts here. Pressing lightly so that we can add more mixture is all we need at this step. Even though we are pressing lightly, we still need a firm pressure so that the bombs stay together later.
8. If you choose to, now is the time to add a treasure to each muffin cup that will be revealed in the tub.
9. Fill the muffin cups up with the rest of the mixture. If you chose to put a treasure inside it will be sandwiched in the middle. If you went the more traditional route, you will still have a compact bath bomb, just with nothing hidden inside.
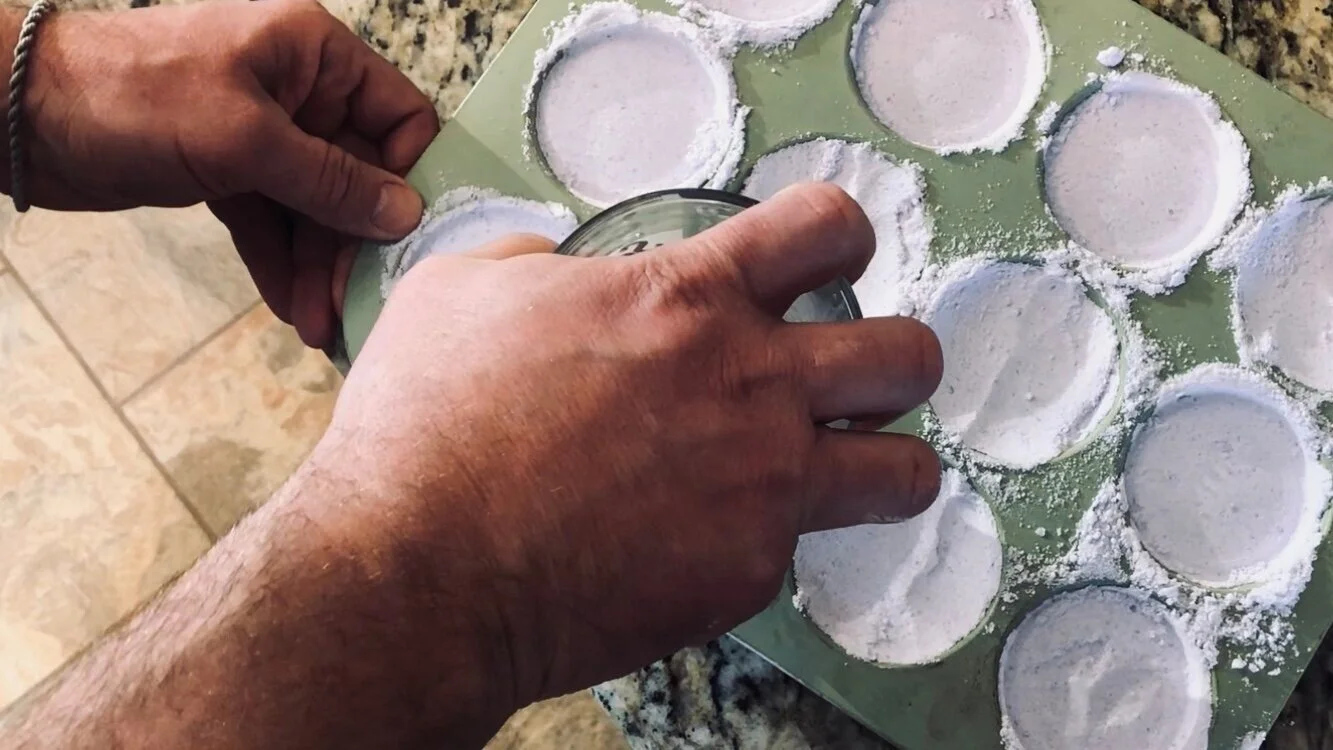
10. Compress the mixture in each cup so it holds together. You can do this using the back of a spoon or a cup that is the right diameter to fit into the muffin cup or whatever mold you are using.
11. Allow the bath bombs to sit overnight.
THESE SHOULD SIT OVERNIGHT. PREPARE YOUR CHILDREN THAT THEY MAY HAVE TO WAIT UNTIL THE NEXT DAY TO USE THEM. I know waiting can be especially hard for some kiddos, so it’s best to prepare them in advance.
Pro tip: depending on the age of your adventurer their head may risk explosion if they have to wait all night. Never fear, set most of your molds aside to sit all night as this is the best method for solidifying the oils, but take a few and put them in the fridge for 30mins and they will be almost as good for that first bath. The fridge method does not seem to work as well in the long run, but it can be used in a pinch to keep the adventure fun.
12. Turn your muffin tin upside down on the counter or a piece of foil or parchment paper or even a large cutting board. Give each cup a little whack on the bottom and the bath bombs should pop right out.
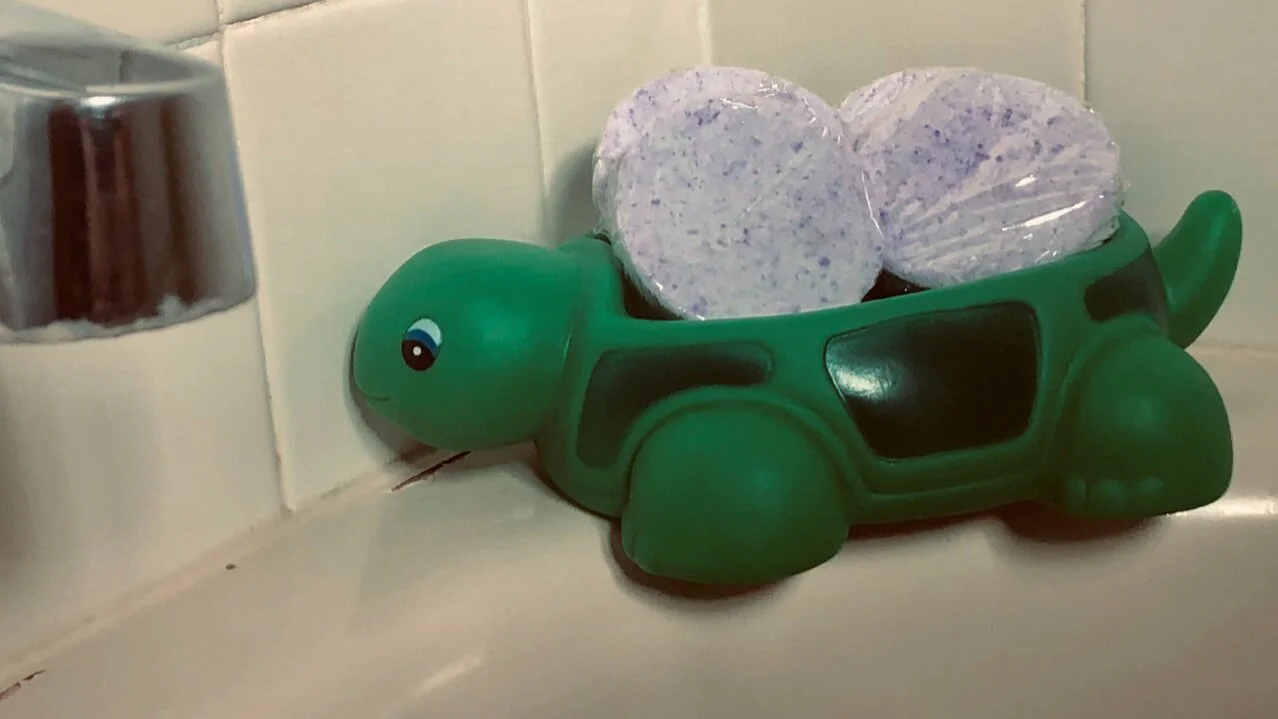
13. Wrap each bath bomb with plastic wrap and store in the bathroom.
14. At bath time simply run the water, drop in the bath bomb and enjoy!
The intent of this article was to teach how to make bath bombs for kids, and to make bath adventures a little more fun. However, big adventurers may want to run a hot bath and use a few of these relaxing, aromatic, skin softening gems every now and then. After all, big adventurers deserve a little pampering, too. That is the basic recipe, below are some special moves and frequently asked questions.
When making bath bombs with kids (Tips and Tricks)
At first glance bath bombs seem like something for grown-ups or spa days, but the second you drop one of these in the tub, especially if they helped make it, you will see it was time well spent. In fact, you may have to put a limit on how many baths are taken each day.
So how do you make bath bombs kids friendly? Allow your kids to help as much as possible by helping measure and/or pour the ingredients, shake the jar, and stir the mixture once it’s well mixed. Different aged children will be able to help in different ways. You know your kids best and can best judge what they can do. It’s a good time to talk about measuring ingredients, working carefully, and cleaning up in the kitchen. Plus, they’ll be really excited to try it out once bath time rolls around! The next step, adding a toy, goes a long way towards getting them interested.
Bath bombs for kids with toys inside
We mentioned this earlier in the steps and it is super easy to do. Just pick any toy small enough to fit in your baking tin, mold, or Easter egg container. One time we had some left over super hero Easter eggs and we added cheap tiny super heroes that fit perfectly. Another great idea is those tiny sponge toys that come in capsules. Now the toy is sandwiched in the middle of the bath bomb. When the bath bomb is dropped into the tub, we get all the exciting effects as before (bubbles, smells, colors) with one addition. The toy, gem, charm, or sponge appears as if by magic.
Other FAQ
How many bath bombs does this recipe make?
a. It depends on how full you fill your molds. We spread the mixture out among all 12 of the muffin tins and we end up with perfectly sized bath bombs for us.
How much money do I save by making them myself?
a. After crunching the numbers, not including a surprise in the middle, we came up with a cost of about $0.30 per bath bomb. This is far less than you will pay for in the store. This number may go up or down depending on the cost of each ingredient and any sales you might find on them.
Are bath bombs safe for kids?
a. That is a great question. Every kid is different, with different sensitivities and allergies, so parent discretion is key. I would certainly not use them with any child that is too young to be in a regular bathtub due to the gasses being less dispersed. I also would not use them with any kid who cannot understand not to drink the bath water. In my own world they have been used with my 2-year-old and all of the older kids, too. Again you know your kids best. Check out this little article about possible things to consider https://www.poison.org/articles/the-baby-ate-a-bath-bomb-194
What are bath bombs or what is the point of bath bombs?
a. Basically, bath bombs are hard-packed mixtures of dry ingredients which effervesce when wet, releasing bubbles, color, and sometimes a treasure. They are used to add essential oils, scent, bubbles or color to bathwater. For our purposes, when a little adventurer drops one of these magic bombs into the water it will explode into bubbles and colors, filling the room with excitement. The smells fill the air and can transport the imagination, aid with relaxing before bedtime, or just plain old help a young adventurer smell less like soap and more like pine or mint or orange. The Epsom salts are great for dry or rough skin. In fact, you played hard too, so why not put your feet into the warm water while little adventurers play. The overall effect is fun and relaxing, not to mention if you follow the tips about bath bombs for kids with toys inside, there’s a cool bath time toy in the center of each explosion.
This project can be slightly messy, but it’s also fun. All my kids love to help, even the one year old, and it’s a great time to interact and teach your kids. Some nights kids cannot wait to get into the bath, other nights it is an all-out war to get them near the water. Little adventurers are bound to get dirty, so pull out one of these secret weapons and watch how quickly they dive into the adventures of bath time.
If you have any questions, or come up with any amazing scent combinations we would love to hear from you at contact@readysetadventurebox.com. Remember, there is no such thing as a small adventure, not even cooking or bath time. Stay safe out there, see you on the adventure trail.
